
Prerequisites
Before setting up Cal.com integration, you’ll need:- A Cal.com account (either hosted or self-hosted)
- An event type configured in Cal.com
- An API key from Cal.com
Setup Process
1. Cal.com Configuration
- Sign up or log in to your Cal.com account
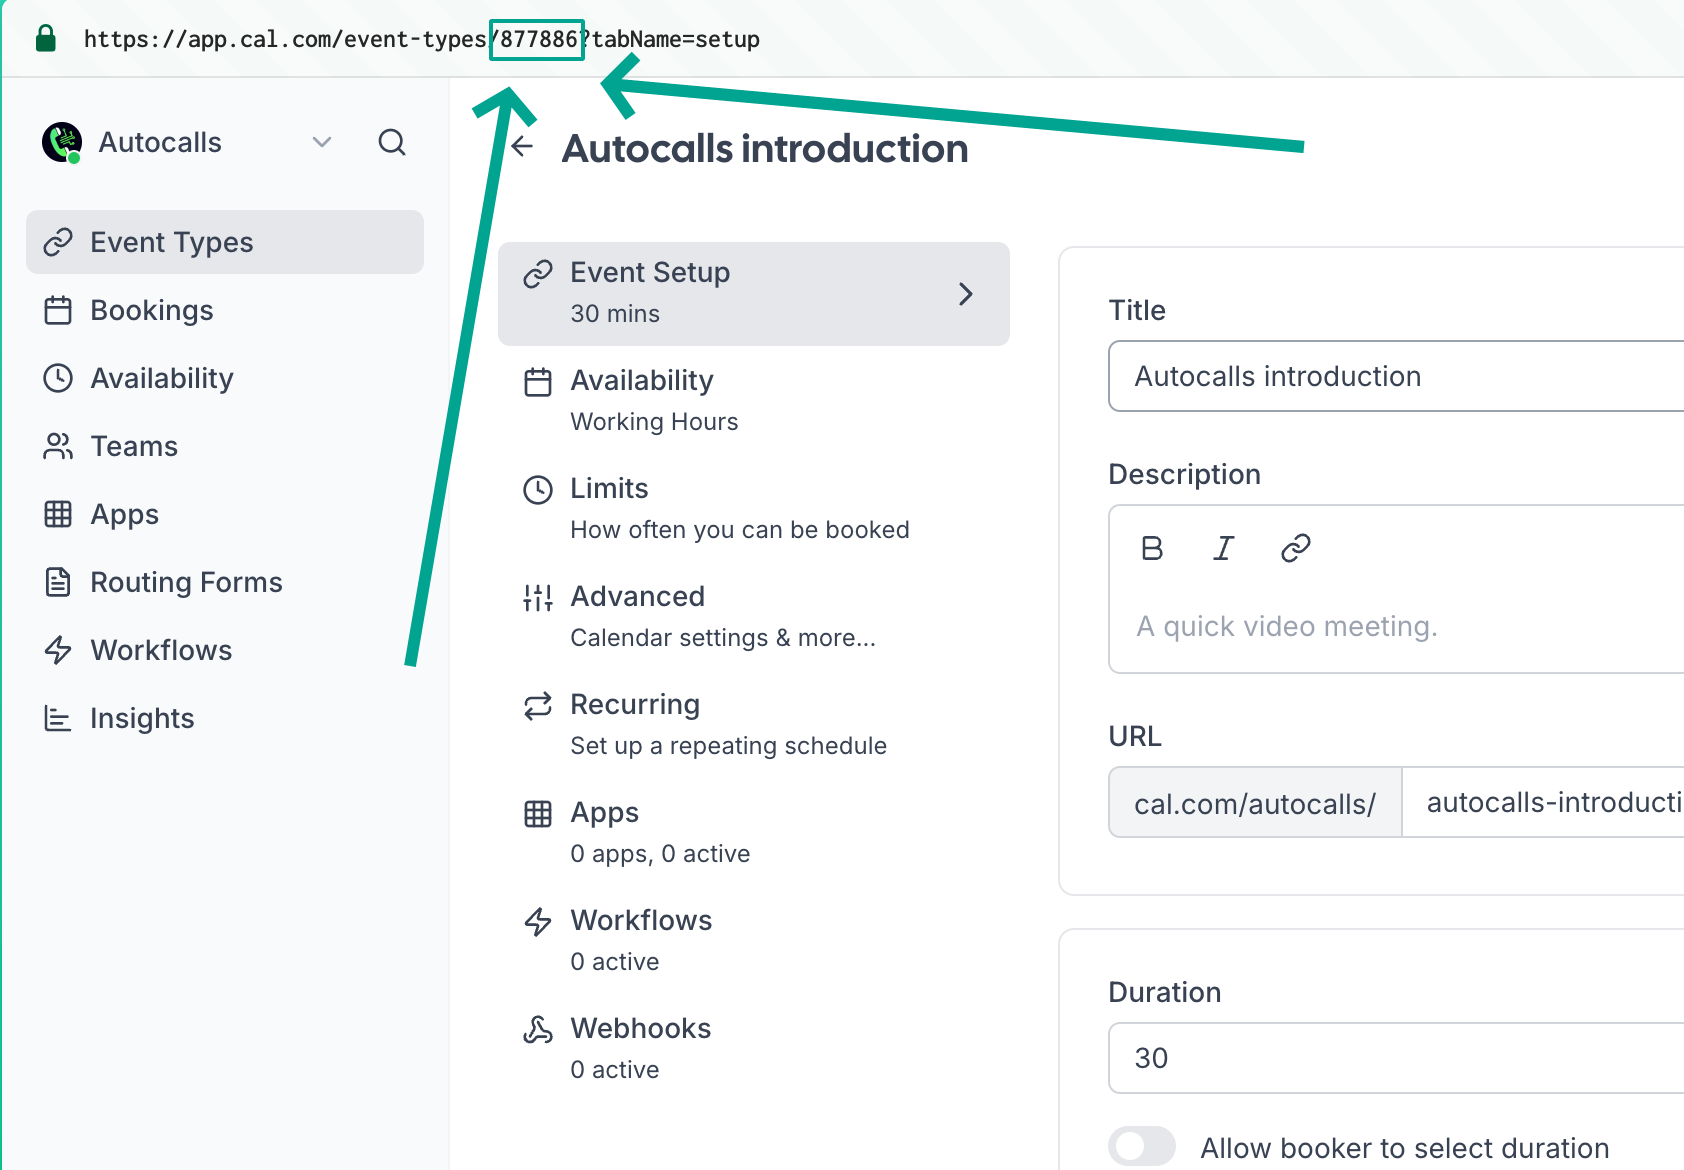
- Create a new event type specifically for AI assistant bookings
- Give it a clear name like “Meeting with AI Assistant”
- Configure duration, availability, and other settings
- Once created, note down the event ID from the URL
- Generate an API key:
- Go to Cal.com settings
- Navigate to Developer Settings
- Create a new API key
- Copy and securely store the API key
2. Customer Contact Information
Email Configuration
To send calendar invites to customers:- Define
emailin your assistant’s input variables - Pass the customer’s email as the
emailvariable when creating the lead - The system will automatically use this email for calendar invitations
Phone Number in Calendar Events
To include the caller’s phone number in calendar events:- Go to your event settings in Cal.com
- Click on “Add a question”
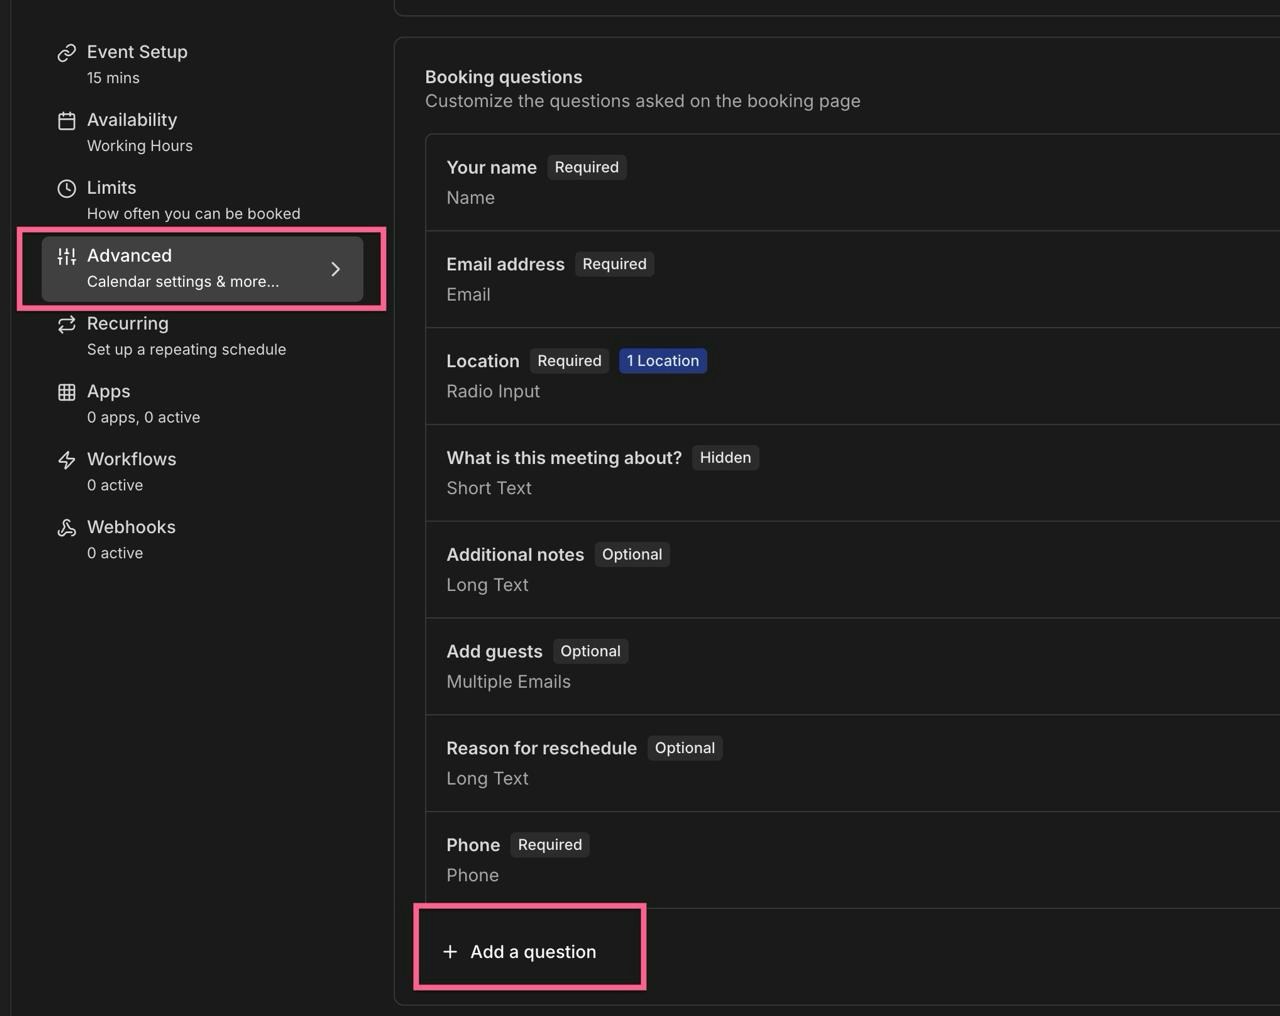
- Configure the field with these exact values:
- Identifier:
phone(this must be exact)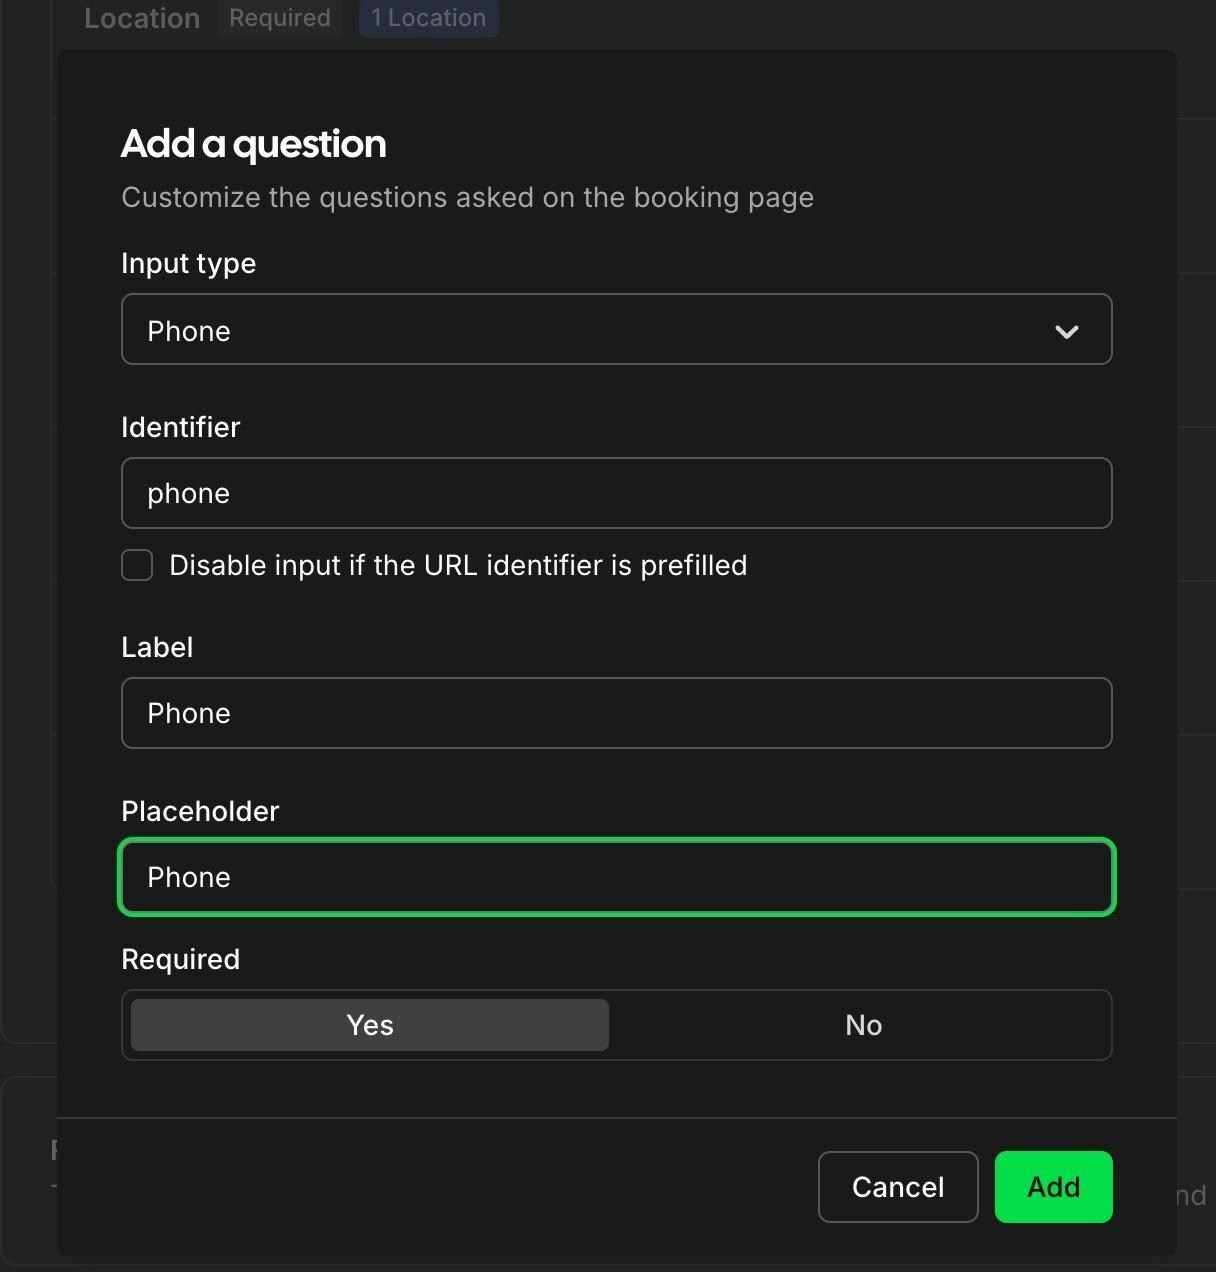
- Identifier:
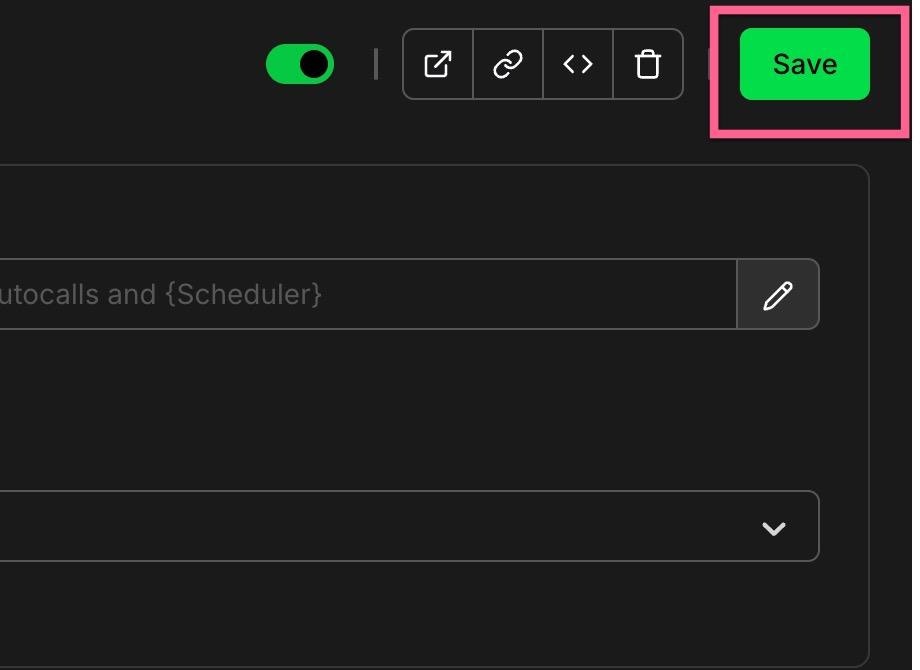
- Save your changes
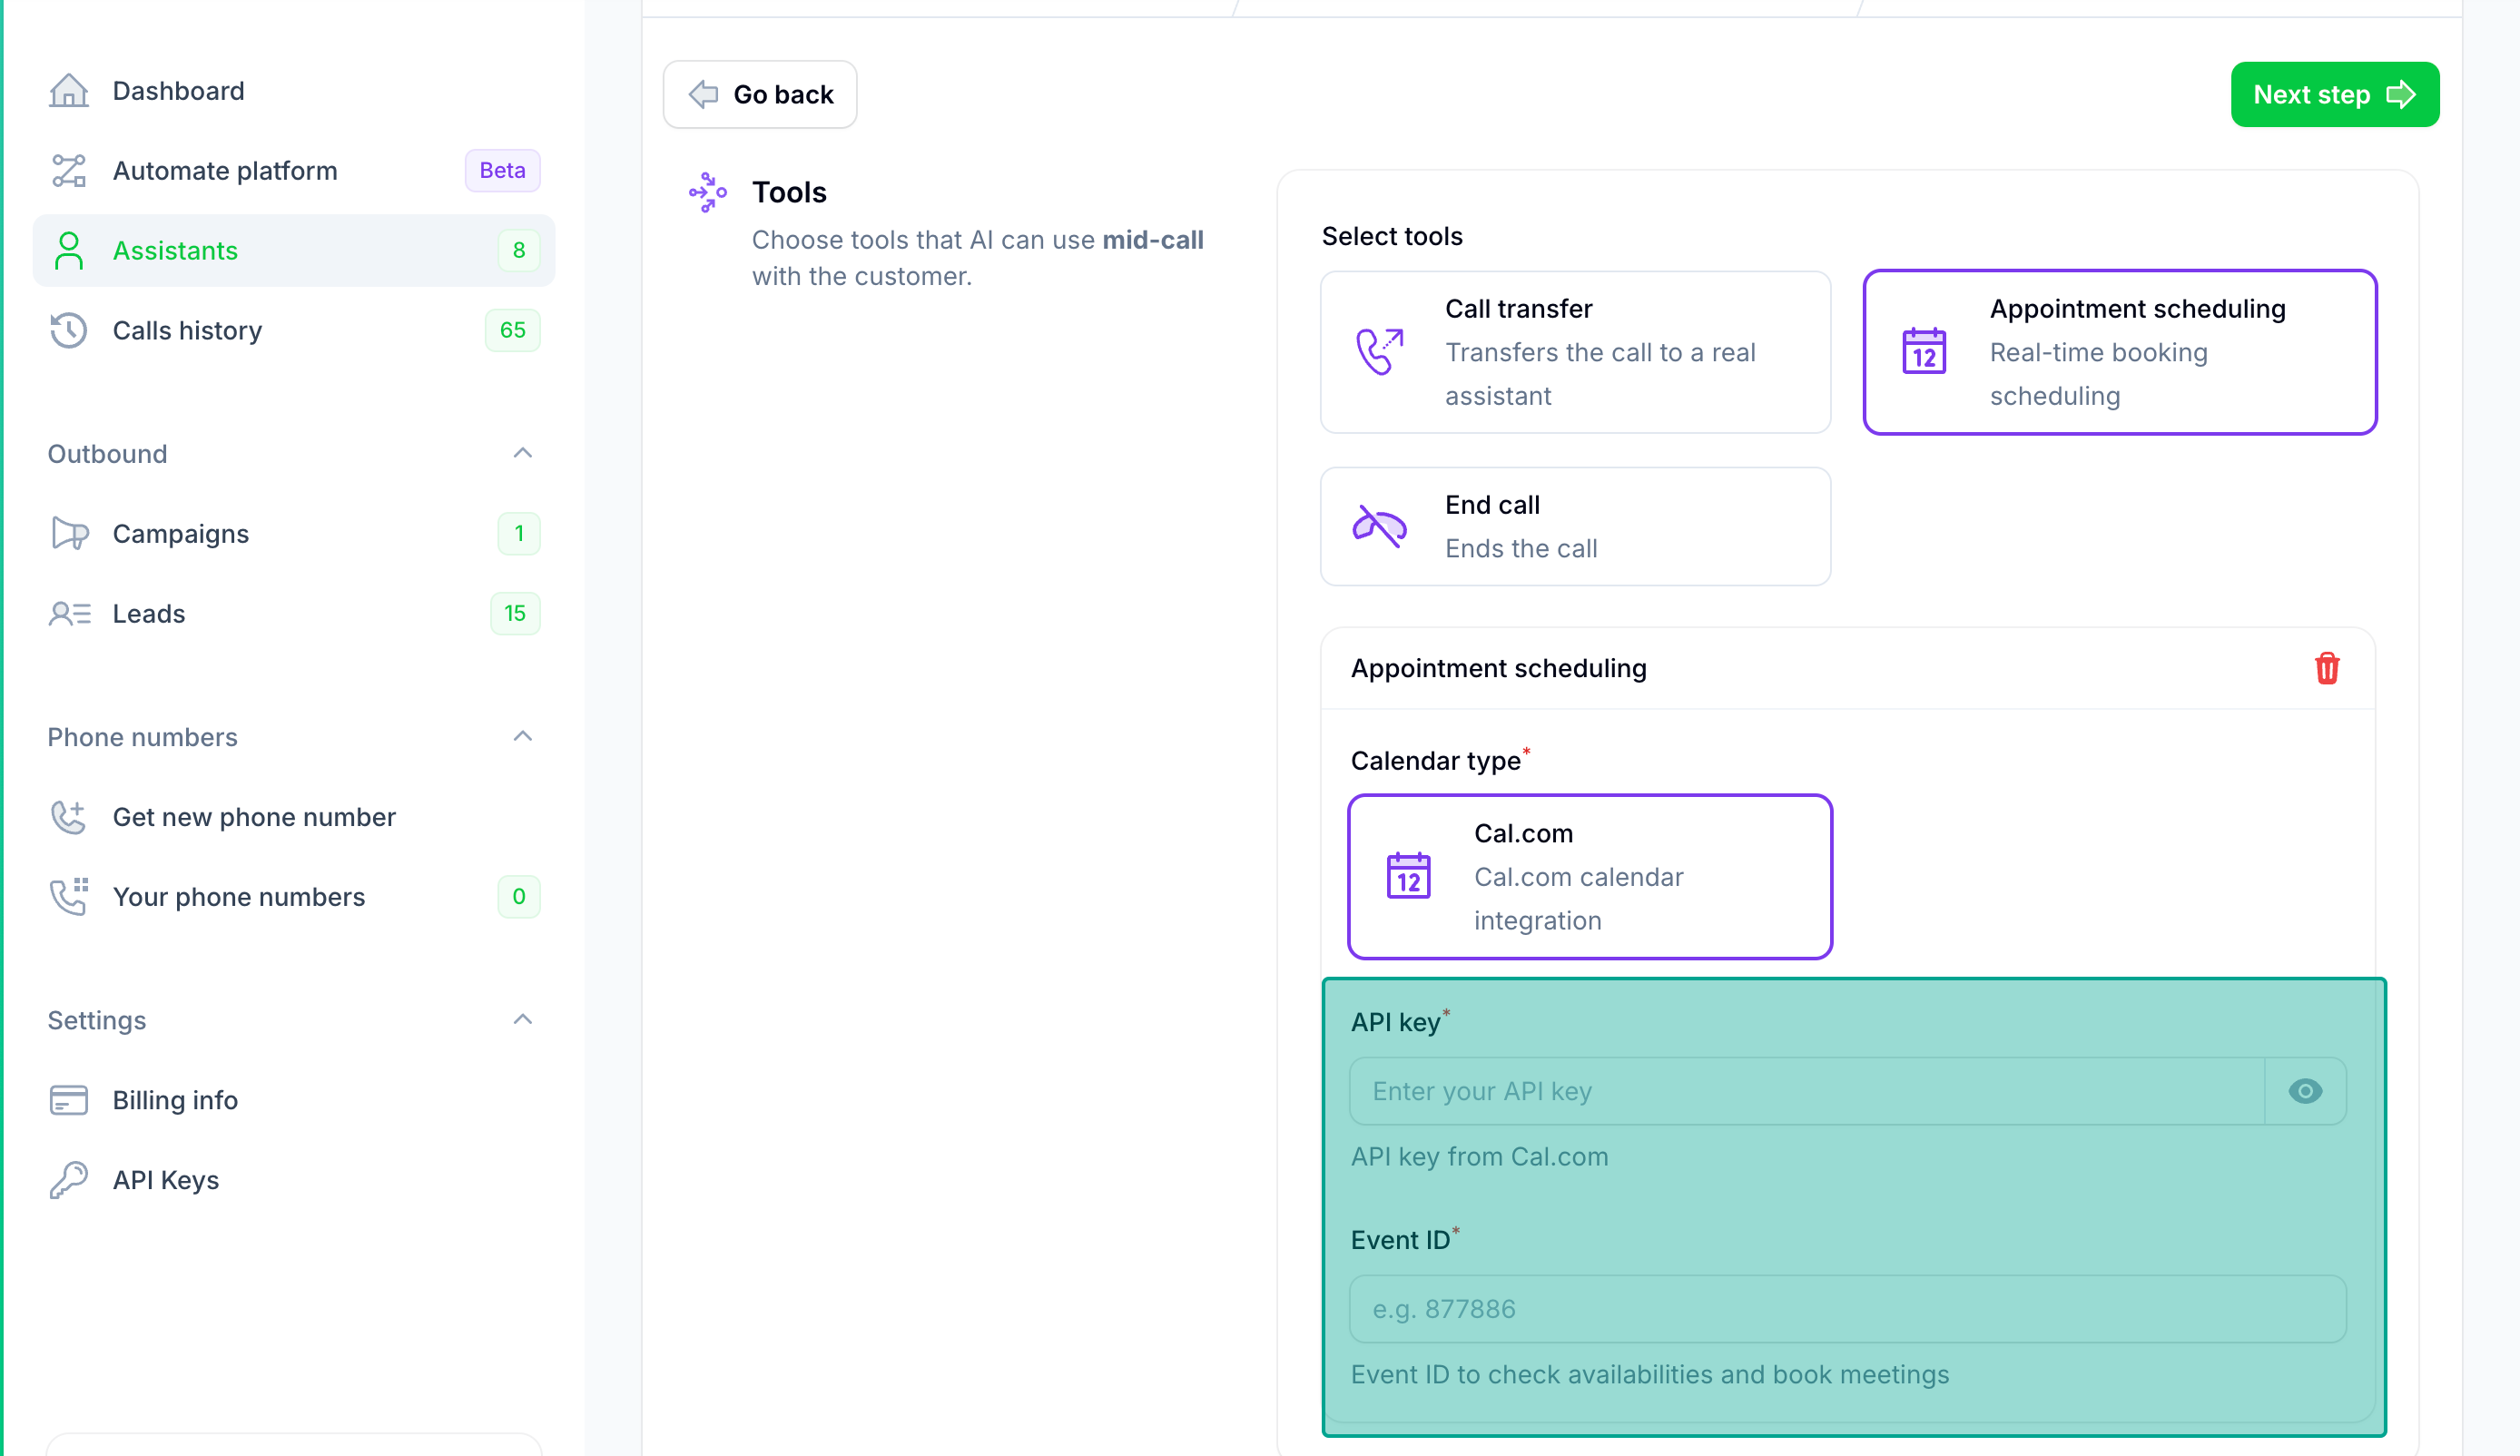
3. Adding Cal.com to Your Assistant
- In your AI assistant settings, locate the Tools section
- Add the Cal.com integration
- Configure the tool with:
- Your Cal.com API key
- The event type ID
Best Practices
- Create dedicated event types for AI bookings to track their usage
- Set clear buffer times between meetings
- Configure appropriate meeting durations
- Use descriptive event names that make sense to your customers
- Keep only default fields and the phone field optional
- Always include customer email in lead creation for calendar invites
Testing
After setup, we recommend:- Making a test call to your AI assistant
- Requesting to schedule a meeting
- Verifying the booking appears in your Cal.com dashboard
- Checking that the phone number appears in the calendar event
- Verifying the customer receives the calendar invitation email
- Checking the confirmation emails are received
Troubleshooting
Quick Fixes:
Missing API Key Error:- Solution: Enter correct API key and event ID in assistant settings
- Steps: Go to assistant settings → Appointment Scheduling → Enter API key and event ID → Save
- Email Required: Ensure assistant has email defined in assistant settings
- Phone field setup: Add phone field in Cal.com event settings with identifier “phone”. See Phone Number in Calendar Events for detailed setup.
- Test with real phone calls: Use phone call (not web call) for testing
- No custom fields: Don’t add required custom fields in Cal.com event settings
- Verify API key is active in Cal.com developer settings
- Check event ID from your Cal.com event URL
- Confirm phone field identifier is exactly “phone”
For comprehensive Cal.com troubleshooting, including detailed solutions and additional issues, see Cal.com Issues.